
Happy Halloween!
Not sure if it's too late for me to be posting up Halloween get-ups hahaha. I'm not gonna dress up this year as well because I'll be working, yet again.. Me and my friends actually had initial plans for a Halloween parade, but turned out everyone isn't free for the month of October. So we dropped the idea, :(
It's quite sad because I actually looked really forward to this year's Halloween, T_T
But it's okay, to make up for missing this year's Halloween, I had some fun with my nails. I actually started to keep my nails extremely long since August, so that I could cut them in a pointy way to create the "witch's nails" look... But they all broke off one by one shortly after because I had been working wayyyyy too much, and they protested.
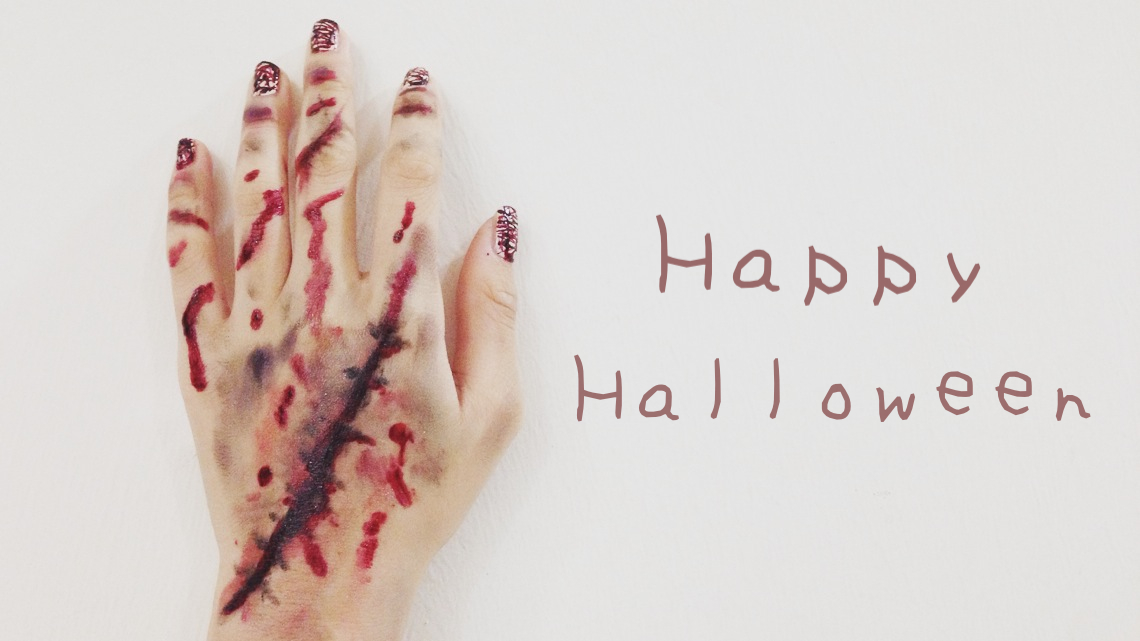
So here's a design I did earlier this year for Halloween preparation. It's rather simple, and not too time consuming! So if you don't get a chance to dress yourself up, you can at least dress your nails up! Best part, it's suitable for both guys and girls! :D

"Massacre" nails
Alright, I shall skip the usual nails buffing and base coat yadah-yadah, because I'm sure all of you would know that you need to have your neats properly buffed and neat before doing any nail art unless you are going for some unique and messy designs! But nevertheless, here's what I've used and you can also check out my Minion Nails post here!
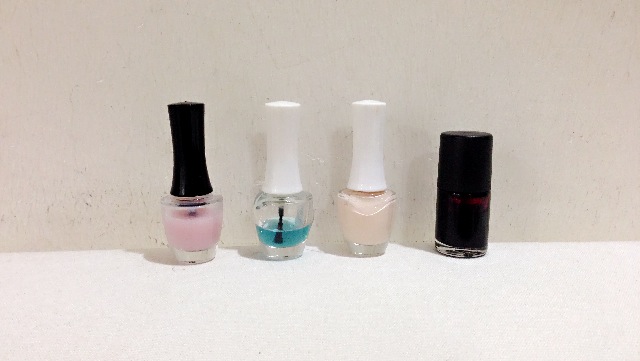
Base Coat: The Face Shop
Top Coat: The Face Shop
Nude Color: The Face Shop
Blood Red Color: Cathay Cineleisure Orchard's Beadstreet

Be generous with your base coat I would say!
Smack on a whole lot so that it'll be easier for you to remove later on! Especially when the red nail polish I'm using would actually stain my nails. So I applied quite a bit for this!

After your base coat is fully dried, apply the nude colour. If you don't have nude color polish, you may also use white or any other base of your choice! I'm using skin color cause I want to make it seem like someone actually cut my nails and I'm bleeding profusely, hahahaha.

Don't worry about the layer being too light and it could see through. You will cover them up with the "blood" afterwards!

When I first saw this at beadstreet I knew I had to get it. Not only the colour is really intense, it's really cheap too!! Like one for 2$?! And blood red is my favourite color!!

Using a nail-art brush, gently pull strokes over your fully dried nude-nails. If you don't have a brush, use a string or a strand of hair works too! Ignore the smudges! It has to look messy for it to look scarily bloody, hehehe.

After you've filled up your nails, add blobs here and there to make it look like the wounds are bleeding. Another reason why I like beadstreet's nail polish is because they dry really quickly. It's perfect for nail-arts hehehe.

And all that's left is your top coat! You should get the design all up by now, hehehe. Wait until it's totally dry before putting your top coat. You wouldn't want to smudge the whole thing into a red nothingness, :/
I'm sorry if this post sounds really rushed, hahaha. I haven't have anytime to whip up a Halloween make-up tutorial or what sort because I've been working too much. And my health isn't too good recently too. I spent most of my free time sleeping because I simply felt too weak and tired to get off my bed. And next thing I know, I'm up for yet another long day of work, T_T
I won't be celebrating Halloween's this year, so have my share of fun you all!
Thank you for reading!


0 comments
Any questions, you can always mail to: veeviisme@live.com :D